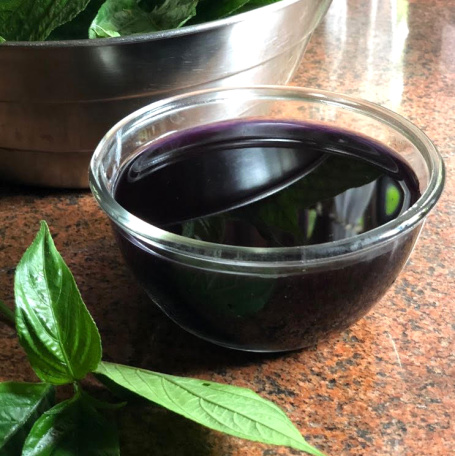
From the Kitchens of Evolve Back – Peppercorn chocolate mousse
Published on: 20/08/2021

Photo title: Peppercorn chocolate mousse

Lorem ipsum dolor sit amet, consectetur adipiscing elit, sed do eiusmod tempor incididunt ut labore et dolore magna aliqua.Quis ipsum

Lorem ipsum dolor sit amet, consectetur adipiscing elit, maecenas accusman lacus vel facilisis

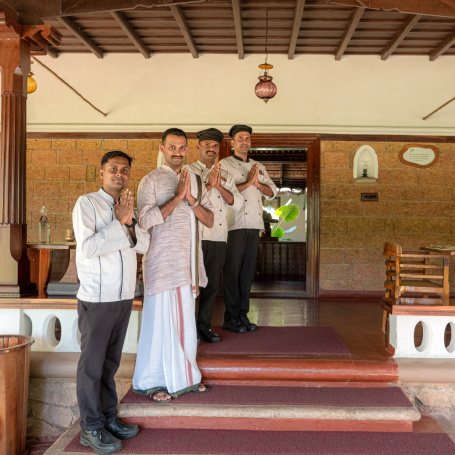
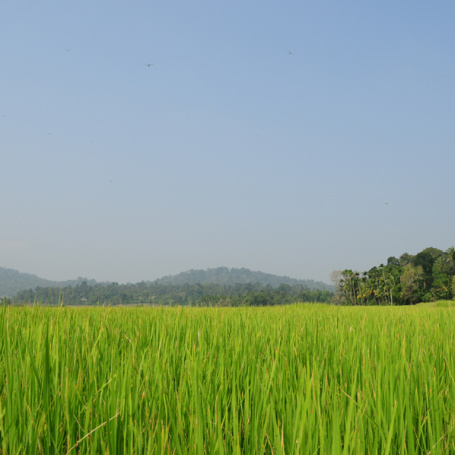
At Evolve Back, Coorg soul food finds body and spirit to seduce your palate in three awesome temples to the culinary arts. The impressive culinary spread at the resort, is outdone only by the breathtaking settings of its restaurants.

STORY TITLE GOES HERE

STORY TITLE GOES HERE


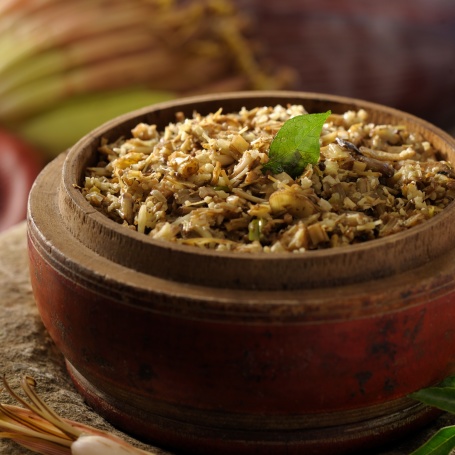
From the Kitchens of Evolve Back – Vazhachundum Thoran
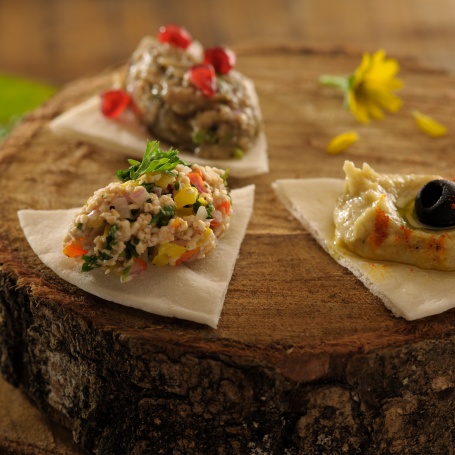
From the Kitchens of Evolve Back – Mezze Platter
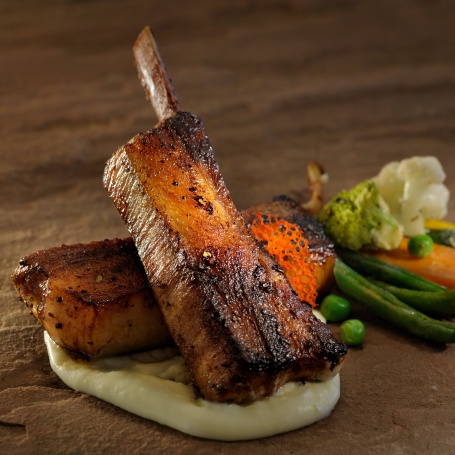
From the Kitchens of Evolve Back – Grilled Pork Ribs

From the Kitchens of Evolve Back – Pazham Puzhungiyathu

From the Kitchens of Evolve Back – Peppercorn chocolate mousse
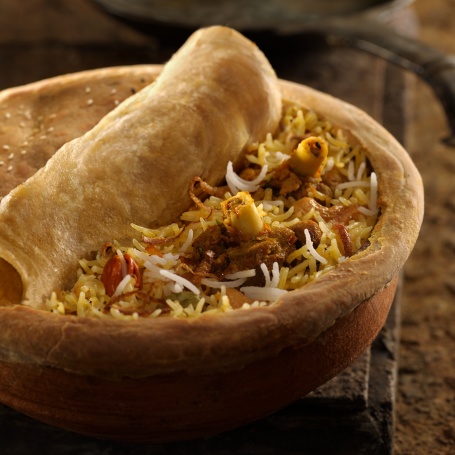
From the Kitchens of Evolve Back – Kabsah Laham Bis

From the Kitchens of Evolve Back – Vazhakanda Thoran
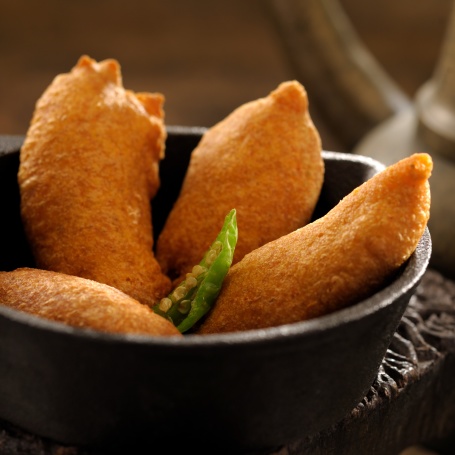
From the Kitchens of Evolve Back – Banana Bajji

From the Kitchens of Evolve Back – Pazham pori
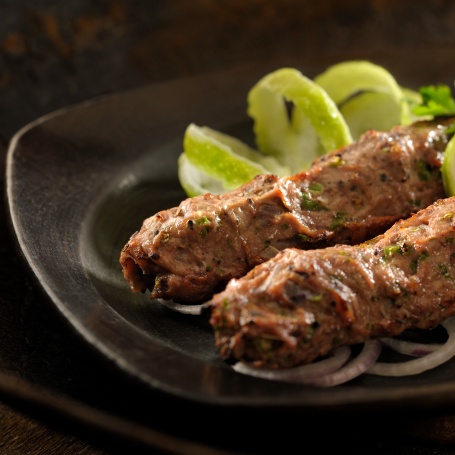
From the Kitchens of Evolve Back – Joojeh – e – Koobideh

From the Kitchens of Evolve Back – Vegetable Kurma


From the Kitchens of Evolve Back – Pandi Curry
From the Kitchens of Evolve Back – Kerala Fish Curry

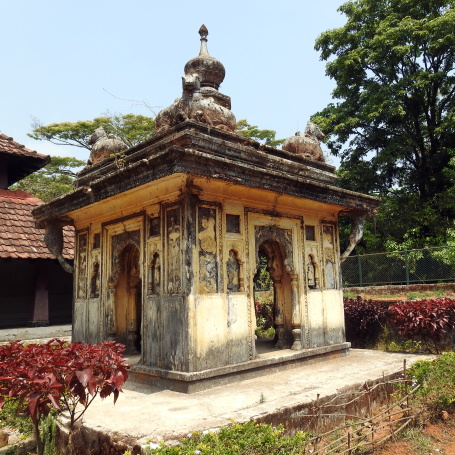
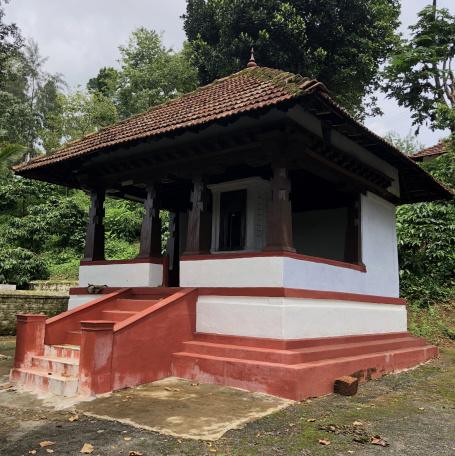
Nalknad Palace – off the beaten track in Coorg
)


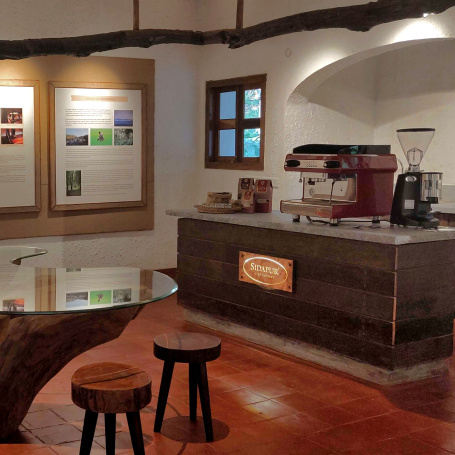
Designing the Sidapur Coffee and Culture Museum

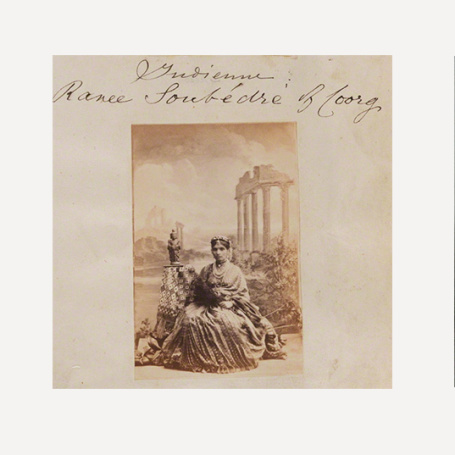
Chikka Veerarajendra of Coorg and his Thirteen Wives


The Architecture of Ainmanes: Form follows Function
Kodava Ainmanes – the heart of the Kodava Clan